Refurbished laptops offer incredible value for money, but they often need a few tweaks to reach their full potential. Whether you bought a budget-friendly machine for work or school, upgrading it can transform your computing experience without breaking the bank.
Many people think upgrading laptops is too complicated or risky. The truth is, with the right approach and careful planning, you can safely boost your refurbished laptop’s performance significantly. This guide walks you through seven essential steps that will help you upgrade your laptop like a pro while avoiding costly mistakes.
From checking compatibility to installing new components, we’ll cover everything you need to know about making your refurbished laptop faster, more reliable, and better suited to your needs.
Step 1: Check Your Laptop’s Upgrade Potential
Before you spend any money on new parts, you need to know what your laptop can actually handle. Not all laptops are created equal when it comes to upgrades.
Find Your Laptop Model Information
Start by identifying your exact laptop model. Look for a sticker on the bottom of your laptop or check your system information. On Windows, press Windows + R, type “msinfo32” and hit enter. This shows your complete system details.
Write down your laptop’s model number, manufacturer, and current specifications. You’ll need this information to research compatible upgrades and find the right parts.
Research Upgrade Limitations
Most laptops have specific limits on what you can upgrade. Here’s what to check:
Memory (RAM) Limits: Your laptop’s motherboard supports a maximum amount of RAM. Check your manufacturer’s website or use tools like Crucial’s System Scanner to find your laptop’s memory limits.
Storage Options: Determine if your laptop uses traditional hard drives, solid-state drives, or newer NVMe drives. Some older refurbished laptops might have different connection types.
Processor Constraints: Unlike desktop computers, most laptop processors cannot be upgraded. They’re soldered directly to the motherboard.
Create an Upgrade Compatibility Chart
| Component | Current Specs | Maximum Supported | Upgrade Difficulty |
|---|---|---|---|
| RAM | 8GB DDR4 | 32GB DDR4 | Easy |
| Storage | 500GB HDD | 2TB SSD | Moderate |
| Wi-Fi Card | 802.11n | 802.11ac | Moderate |
| Battery | Original | Replacement Available | Easy |
This chart helps you visualize what upgrades make sense for your specific laptop and your budget.
Step 2: Prioritize Upgrades Based on Your Needs
Not every upgrade will make a meaningful difference in your daily use. Focus on improvements that match how you actually use your laptop.
Performance-Focused Upgrades
If your laptop feels slow during everyday tasks, these upgrades deliver the biggest impact:
Solid State Drive (SSD): This is usually the most noticeable upgrade. Replacing a traditional hard drive with an SSD makes your laptop boot faster, programs load quicker, and files transfer more rapidly.
Additional RAM: More memory helps when you run multiple programs simultaneously or work with large files. Most users benefit from having at least 16GB of RAM for modern computing tasks.
Productivity and Reliability Upgrades
For work and school use, consider these improvements:
Battery Replacement: Refurbished laptops often have worn-out batteries. A new battery extends your working time away from power outlets.
Wi-Fi Card Upgrade: Newer Wi-Fi standards provide faster internet speeds and better connection reliability, especially important for video calls and cloud-based work.
Budget Allocation Strategy
Rank your upgrades by importance and cost:
- High Impact, Low Cost: SSD upgrade, battery replacement
- High Impact, Medium Cost: RAM increase to 16GB or 32GB
- Medium Impact, Low Cost: Wi-Fi card upgrade, thermal paste replacement
- Nice to Have: External accessories like docking stations or monitors
This approach ensures you get the most improvement for your money.
Step 3: Gather the Right Tools and Components
Having the correct tools prevents damage and makes the upgrade process much smoother. Don’t try to improvise with household items.
Essential Tools for Laptop Upgrades
Precision Screwdriver Set: Most laptops use small Phillips head screws, but some manufacturers use special screws. A comprehensive set covers all possibilities.
Anti-Static Wrist Strap: Protects your laptop’s sensitive electronic components from static electricity damage during handling.
Plastic Prying Tools: Help remove panels and disconnect ribbon cables without scratching or breaking plastic parts.
Magnetic Parts Tray: Keeps small screws organized and prevents them from rolling away during disassembly.
Choosing Quality Replacement Parts
Memory Modules: Stick with reputable brands like Corsair, Kingston, or Crucial. These companies offer compatibility guarantees and reliable customer support.
Storage Drives: For SSDs, Samsung, Western Digital, and Crucial offer excellent performance and reliability. Make sure you buy the correct form factor (2.5-inch SATA or M.2 NVMe).
Batteries: Always buy batteries specifically designed for your laptop model. Generic batteries may not fit properly or could pose safety risks.
Verify Compatibility Before Purchase
Double-check every component against your laptop’s specifications. Many online retailers offer compatibility tools where you enter your laptop model and see only compatible parts.
Save your receipts and understand return policies. Sometimes parts that should work don’t fit properly due to minor manufacturing variations.
Step 4: Create a Safe Working Environment
Proper preparation prevents accidents and component damage during your upgrade process.
Choose the Right Workspace
Find a clean, well-lit area with plenty of room to work. A large table or desk works best. Avoid carpeted areas where static electricity builds up easily.
Good lighting is crucial for seeing small components and connectors clearly. A desk lamp with adjustable positioning helps illuminate your work area without creating shadows.
Prepare Your Laptop
Complete Data Backup: Before opening your laptop, back up all important files to an external drive or cloud storage. While upgrades rarely cause data loss, it’s better to be safe.
Power Down Completely: Shut down your laptop and unplug the power adapter. Remove the battery if possible to eliminate any electrical current.
Discharge Static Electricity: Touch a grounded metal object or wear an anti-static wrist strap to prevent static discharge that could damage components.
Document the Disassembly Process
Take photos before removing any components. These pictures help you remember where cables connect and how parts fit together during reassembly.
Label small parts and screws using tape or a parts organizer. Different areas of your laptop may use different screw lengths, and mixing them up can cause problems.
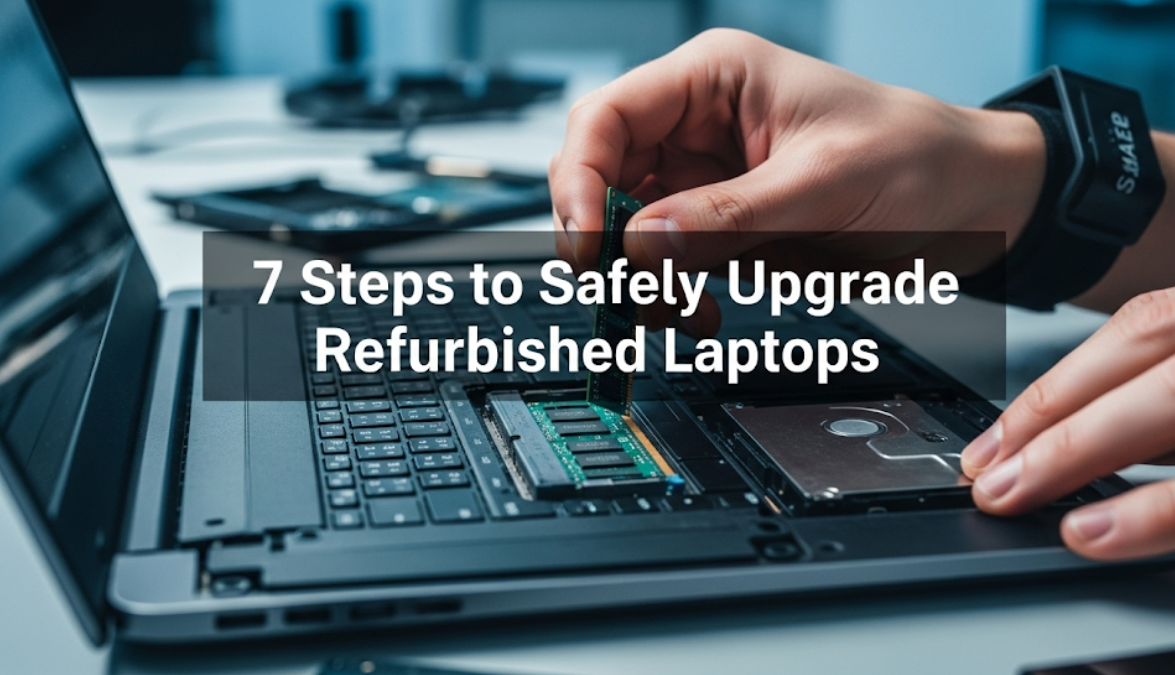
Step 5: Perform the Physical Upgrade
With preparation complete, you’re ready to install your new components. Work slowly and methodically to avoid mistakes.
Opening Your Laptop Case
Most modern laptops have bottom panels that remove to access upgradeable components. Consult your laptop’s manual or online teardown guides for your specific model.
Remove screws in the correct order. Some laptops have screws hidden under rubber feet or warranty stickers. Keep track of screw locations since they may be different lengths.
Gently lift panels without forcing them. If something doesn’t come apart easily, double-check for missed screws or clips.
Installing Memory Upgrades
Locate Memory Slots: Most laptops have memory slots near the center of the motherboard. They’re usually covered by a small panel or easily visible once the bottom cover is removed.
Remove Old Memory: Press the clips on either side of the memory module simultaneously. The module will pop up at an angle, then slide out of the slot.
Install New Memory: Insert the new module at the same angle as the old one. Press down firmly until the clips snap into place automatically.
Replacing Storage Drives
Traditional Hard Drive Replacement: Remove screws holding the drive in place, disconnect the SATA cable, and slide out the old drive. Installation reverses this process.
SSD Installation: Solid-state drives often use the same mounting points as traditional drives, making replacement straightforward.
M.2 NVMe Installation: These drives plug directly into the motherboard like memory modules. Remove the mounting screw, insert the drive at an angle, and secure it with the screw.
Testing Components Before Reassembly
Before putting everything back together, connect power and test your laptop briefly. This ensures new components are working properly and saves time if something needs adjustment.
Step 6: Optimize Your Upgraded System
Hardware upgrades are only part of the equation. Software optimization ensures you get maximum benefit from your improvements.
Fresh Operating System Installation
A clean OS installation often works better than trying to migrate from old storage to new. This eliminates software conflicts and gives you a fresh start.
Create Installation Media: Download your operating system installer to a USB drive before starting the upgrade process.
Clean Install Process: Boot from your installation media and perform a complete format of your new storage drive. This ensures optimal performance and removes any previous system remnants.
Driver Installation: After installing your OS, download and install the latest drivers for your laptop model from the manufacturer’s website.
Configure New Hardware
Memory Management: Enable XMP profiles in your BIOS if available. This ensures your new RAM runs at its rated speed rather than slower default settings.
Storage Optimization: For SSDs, enable AHCI mode in BIOS and confirm TRIM support is active in your operating system.
Power Management: Adjust power settings to balance performance and battery life based on your usage patterns.
Performance Monitoring and Testing
Use built-in tools to verify your upgrades are working correctly:
Task Manager: Check that your new RAM amount appears correctly and monitor memory usage during normal tasks.
Disk Management: Verify your new storage drive appears with the correct capacity and is properly formatted.
Performance Benchmarks: Run simple tests to compare before and after performance. Basic file transfer tests and startup time measurements show real-world improvements.
Step 7: Maintain Your Upgraded Laptop
Regular maintenance keeps your upgraded laptop running smoothly and extends its lifespan.
Thermal Management
Upgraded components may generate more heat than original parts. Monitor temperatures using built-in tools or third-party software.
Clean Cooling System: Remove dust from fans and heat sinks every few months. Compressed air works well for this task.
Thermal Paste Replacement: If your laptop runs hot, consider replacing thermal paste between the processor and heat sink. This advanced procedure requires careful disassembly but can significantly improve cooling.
Software Maintenance Schedule
Weekly Tasks: Run antivirus scans, clear temporary files, and restart your laptop to refresh system memory.
Monthly Tasks: Check for driver updates, run disk cleanup utilities, and review installed programs for ones you no longer need.
Quarterly Tasks: Create system backups, check battery health, and review system performance metrics.
Long-Term Upgrade Planning
Keep track of your laptop’s performance over time. Note any slowdowns or issues that might indicate future upgrade needs.
Component Lifespan: SSDs and memory modules typically last many years, but batteries may need replacement every 2-3 years depending on usage.
Technology Updates: Stay informed about new standards that might benefit your laptop, such as faster Wi-Fi protocols or more efficient storage technologies.

Troubleshooting Common Upgrade Issues
Even careful upgrades sometimes encounter problems. Here’s how to address the most common issues.
System Won’t Boot After Upgrade
Memory Issues: Ensure RAM modules are fully seated in their slots. Try installing one module at a time to identify faulty components.
Storage Problems: Check that your new drive is properly connected and recognized in BIOS. Verify that your installation media is working correctly.
Compatibility Conflicts: Some laptops are picky about component brands or specifications. Consult manufacturer forums for known compatibility issues.
Performance Not Improved as Expected
Driver Problems: Outdated or incorrect drivers can limit new component performance. Always install latest drivers from manufacturer websites.
Configuration Issues: Check BIOS settings to ensure new components are running at their full specifications.
Background Software: Some programs consume resources unnecessarily. Review startup programs and background processes.
Hardware Recognition Issues
BIOS Updates: Older laptop BIOS versions may not recognize newer components. Check manufacturer websites for BIOS updates that add component support.
Slot Problems: Occasionally, expansion slots develop connection issues. Try reseating components or using different slots if available.
Frequently Asked Questions
Is it safe to upgrade a refurbished laptop?
Yes, upgrading refurbished laptops is generally safe when done properly. The key is researching compatibility, using appropriate tools, and following proper procedures. Refurbished laptops often benefit significantly from upgrades since they may have older or lower-capacity components.
Which upgrade provides the biggest performance boost?
Replacing a traditional hard drive with an SSD typically provides the most noticeable performance improvement. Users often see boot times reduce from minutes to seconds, and programs load much faster. If your laptop already has an SSD, adding more RAM usually provides the next biggest benefit.
Can I upgrade the processor in my laptop?
Most laptop processors cannot be upgraded because they’re soldered directly to the motherboard. Unlike desktop computers, laptops prioritize space efficiency over upgradability. Focus on upgrades that are actually possible: memory, storage, Wi-Fi cards, and batteries.
How much does it cost to upgrade a refurbished laptop?
Upgrade costs vary widely depending on components chosen. A basic SSD upgrade might cost $50-100, while maxing out RAM could cost $100-300. Most users spend between $150-400 for meaningful upgrades that significantly improve performance.
Will upgrading void my laptop’s warranty?
This depends on your laptop’s warranty terms and where you purchased it. Some refurbished laptop sellers allow user upgrades, while others void warranties for any modifications. Check your warranty documentation before proceeding with upgrades.
How long do laptop upgrades typically last?
Quality components like SSDs and RAM modules often outlast the laptop itself. Batteries typically need replacement every 2-4 years depending on usage patterns. Wi-Fi cards and other components usually last 5-7 years before newer standards make upgrades worthwhile.
What should I do with my old laptop components?
Old hard drives should be wiped securely before disposal due to data security concerns. Many electronics retailers accept old components for recycling. Working components like RAM or batteries might have resale value online or could serve as backups for future repairs.
Can I upgrade multiple components at once?
Yes, you can upgrade multiple components during a single disassembly session. This approach saves time and reduces the risk of damaging delicate connectors through repeated assembly cycles. Just make sure to test each component individually if you encounter problems.
You may also like: Buying Refurbished Electronics
Conclusion
Upgrading your refurbished laptop doesn’t have to be intimidating or risky. By following these seven steps methodically, you can safely transform an older machine into a capable, modern computer that serves your needs for years to come.
The key to successful laptop upgrades lies in thorough preparation, choosing compatible components, and working carefully with proper tools. Most users find that even basic upgrades like adding an SSD and more RAM create dramatic improvements in daily usability.
Remember that not every laptop needs every possible upgrade. Focus on improvements that match your specific usage patterns and budget constraints. A strategic approach to upgrading often provides better value than trying to maximize every specification.
With your upgraded laptop running smoothly, you’ll have a reliable machine that performs like new while costing significantly less than buying the latest model. The skills you’ve learned during this process will also help you maintain and troubleshoot your laptop for years to come, making you more self-sufficient and saving money on technical support.
Take your time, be patient with yourself, and don’t hesitate to ask for help when needed. The satisfaction of successfully upgrading your own laptop and seeing the performance improvements makes the effort worthwhile.